

How to Take a US Passport Photo at Home – Complete Step-by-Step Guide (2025)
How to Take a US Passport Photo at Home – Step-by-Step Guide
Need a US passport photo but want to skip the trip to Walgreens or CVS? Good news — you can take a compliant passport photo right at home using just your smartphone. In this guide, we’ll walk you through everything: requirements, setup, lighting, and formatting.
👉 For the full list of official rules, visit our US Passport Photo Guidelines
1. Why Take a Passport Photo at Home?
Taking your passport photo at home is:
-
✅ Convenient – no appointments or waiting
-
✅ Cost-effective – skip the $15+ studio charge
-
✅ Flexible – take multiple shots until it’s perfect
And with tools like XPassportPhoto, you can handle formatting, background removal, and compliance checks easily.
2. What You’ll Need
-
A smartphone with a good camera (8MP+)
-
A white wall or sheet
-
Natural light near a window, or two soft lamps
-
A helper or tripod
3. Step-by-Step Instructions
3.1. Set Up the Background
Use a flat, white wall or hang a smooth white sheet. Avoid shadows or patterns.
Need help with proper backgrounds? See our Background Guide.
3.2. Get the Lighting Right
Use daylight if possible. Face the light source directly to avoid shadows.
3.3. Pose and Take the Shot
-
Keep your head straight and eyes forward
-
Use a neutral expression
-
Take the photo at eye level
3.4. Format and Validate the Photo
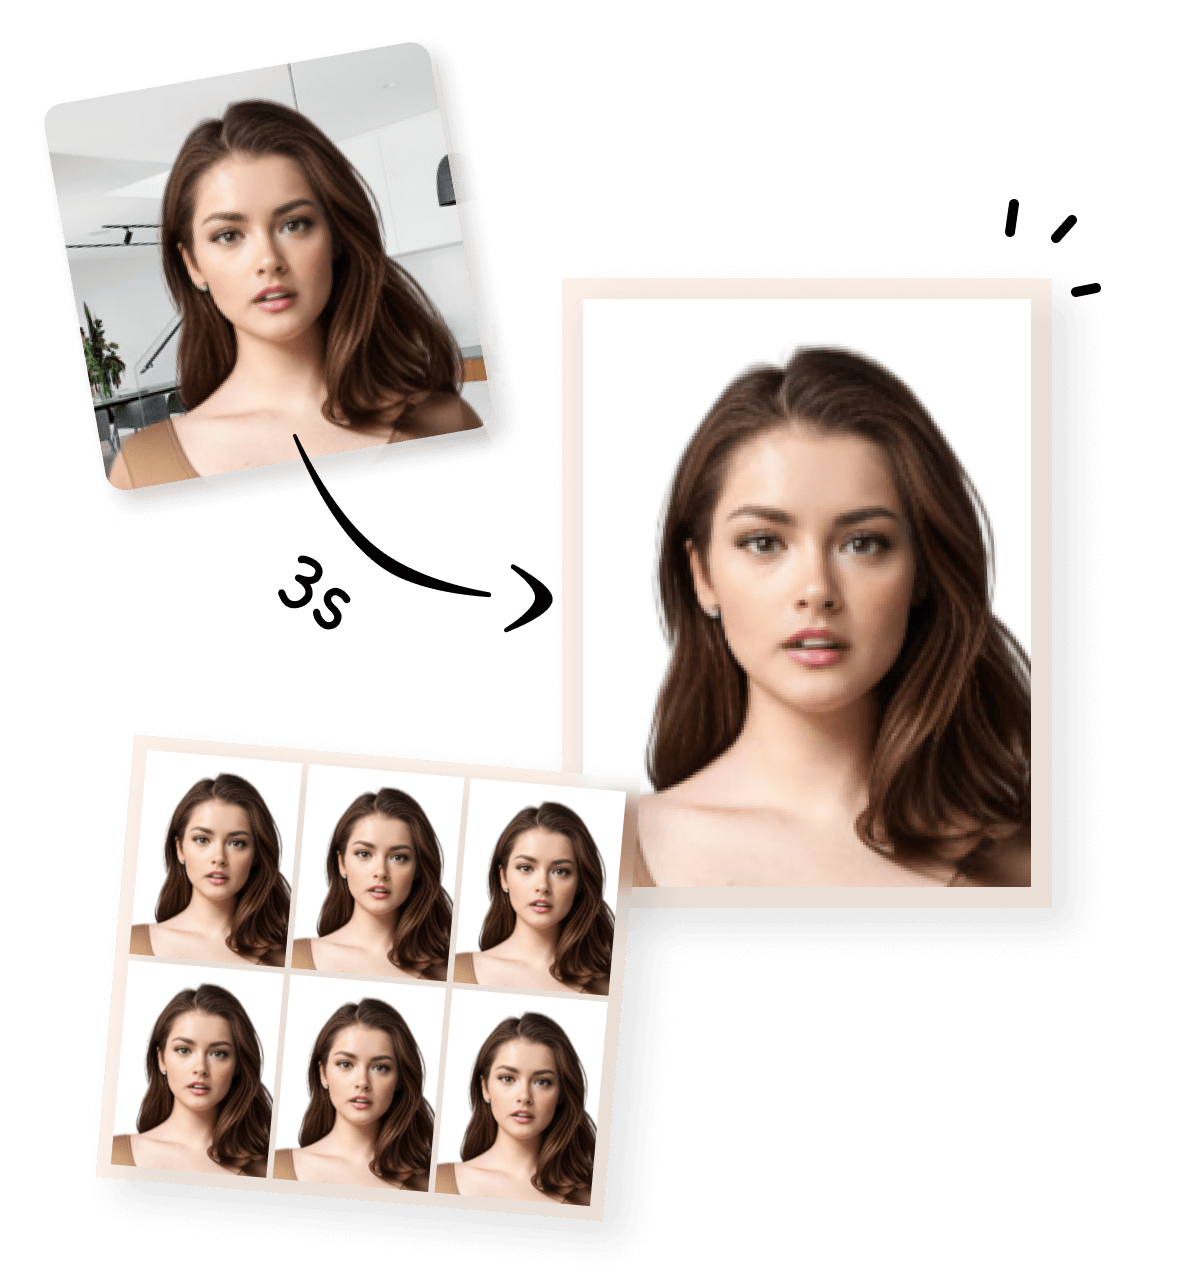
Upload your photo to xpassportphoto to:
-
Auto-crop and center your image
-
Remove background
-
Generate print-ready files or digital passport photo
4. Common Mistakes
Avoid these to prevent rejection:
-
Busy or colored background
-
Glasses or uniforms
-
Face not centered or wrong size
-
Shadows on the face or background
5. Special Note on Infant Photos
Taking a baby’s passport photo? Lay them on a white sheet or use a car seat setup. For detailed instructions, check our Baby Passport Photo Guide.